


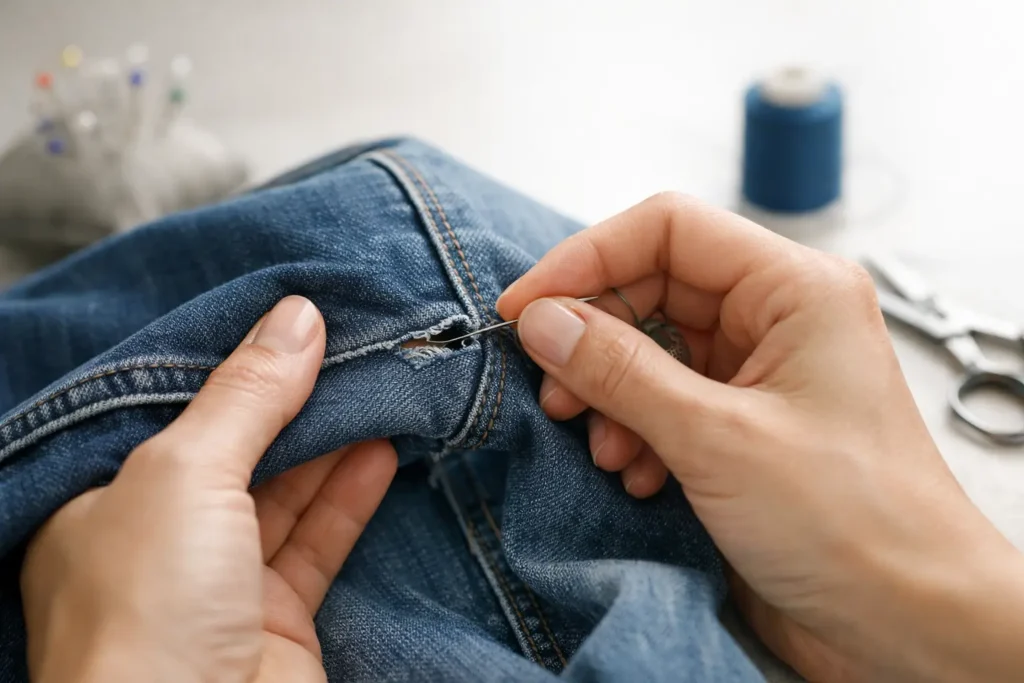
How to Repair Torn Seams Without Bulky Stitches
A split seam can make an otherwise perfect garment feel unwearable. It might be the inner leg of well-loved trousers, the side seam of a work dress, or the armhole of a jacket that has pulled apart at the worst possible time. Knowing how to repair torn seams can save a favourite piece from the back of the wardrobe, provided you use the right method and do not ignore the reason it tore.
The good news is that many seam repairs are straightforward. The less-good news is that a quick stitch is not always the best answer. If the fabric is weakened, the garment is pulling because it is too tight, or the seam sits in a high-stress area, a repair needs more than simply joining the two sides together.
Start by checking why the seam tore
Before threading a needle, look closely at the damaged area. A seam can open because the original stitching has broken, but it may also be a sign that the garment no longer has enough ease through the body, hips, thigh or armhole. Repairing a strained seam without addressing the fit often means it will split again.
If the fabric itself is intact and the stitching has simply come undone, this is usually the easiest repair. You will see two clean seam allowances inside the garment, with loose or missing thread but no holes in the cloth. This commonly happens on lightweight blouses, casual trousers and garments that have caught on something.
Take more care if the fabric around the seam looks thin, frayed, stretched or torn. Silk, satin, lace, leather, old denim and fabrics with stretch can all need a more considered approach. A repair that is too tight, too close to the edge, or made with the wrong thread may cause further damage.
What you need for a neat seam repair
For a small hand repair, use a fine hand-sewing needle and thread that closely matches the garment in colour and weight. Polyester all-purpose thread suits many everyday fabrics. Cotton thread can be better for natural-fibre garments, while a stretch garment benefits from a little flexibility in the stitching rather than a rigid repair.
You will also need sharp scissors, pins or sewing clips, and good lighting. An iron can help you press the seam back into shape, but use a low setting and a pressing cloth for delicate fabrics. Avoid using thick craft thread, embroidery floss or visible white thread as a shortcut. These may hold temporarily, but they tend to look bulky and can pull against fine fabric.
How to repair torn seams by hand
Turn the garment inside out so you can work on the seam allowance. Gently bring the two separated edges together, following the original fold or stitch line. If the seam is still intact above and below the tear, use those sections as your guide. Pin the opening closed, taking care not to pull the fabric tighter than it naturally sits.
Thread your needle with a manageable length of thread, roughly from your fingertips to your elbow. Longer thread can twist and knot, which makes a tidy repair harder. Knot one end and begin a centimetre or two before the torn section, sewing through the existing seam allowance rather than starting right at the split.
For most simple repairs, use a backstitch. Bring the needle through from the inside, take a small stitch backwards, then bring the needle forward past your previous stitch before going back again. The finished line should look like small, continuous stitches with very little gap between them. This gives more strength than a running stitch and is suitable for seams that receive regular movement.
Keep your stitches small and even, but do not tug the thread tightly after every stitch. Puckering is a clear sign that the repair is under tension. Continue beyond the end of the tear by at least a centimetre, then secure the thread with two small knots on the seam allowance. Trim the tail neatly.
Once finished, turn the garment right side out and check the result. The seam should lie flat, with no gathering or visible pulling. If it feels tight when you move, remove the repair and try again with the fabric sitting more naturally.
When a running stitch is enough
A running stitch can work for a very small opening in a low-stress area, such as a loose skirt seam or a lining. It is faster, but it is not as durable as a backstitch. For trousers, fitted dresses, jacket armholes or any seam that stretches as you sit and move, choose a stronger stitch or have the repair sewn by machine.
Repairing a seam on stretch fabric
Stretch garments need special attention because ordinary tight stitches can snap the first time the fabric moves. Use a narrow zigzag stitch on a sewing machine if you have one, or make a hand backstitch with a little space between stitches. Test the repaired area by gently stretching it before wearing the garment.
Activewear, knit tops and leggings can be particularly difficult because the seams may be overlocked or coverstitched. A visible hand repair may be fine inside the garment for a small split, but a professional repair will usually sit flatter and last longer.
Do not cut away seam allowance too soon
It is tempting to trim frayed threads and make the inside look tidy straight away. Only remove loose thread that is clearly detached. The seam allowance is valuable fabric. If the garment needs to be let out, reinforced or resewn further from the damaged edge, that extra allowance can make all the difference.
Where the seam edge is fraying, a narrow zigzag, overlocking stitch or carefully applied seam finish can stop the damage spreading. This is especially useful on loosely woven linen, lightweight cotton and fabrics that have been worn or washed often.
When a torn seam needs professional repair
Hand sewing is useful for an emergency or a simple repair, but some garments deserve a tailor’s attention. A torn seam is best assessed professionally when it affects the fit, construction or appearance of the garment.
This includes suit jackets, formal dresses, wedding garments, leather pieces, lined coats and garments with beading, lace or delicate fabric. These items often have internal layers, shaping, interfacing or specialist stitching that should be preserved. Sewing only the outer layer can distort the garment or leave the lining loose inside.
It is also worth seeking help when the seam keeps reopening. That usually indicates a fit issue rather than a stitching issue. A skilled alteration can add ease where possible, reinforce the stressed area and restore a cleaner line than repeated hand repairs. For a cherished garment, this is often better value than replacing it.
At AD Stitch, repairs are approached with the same care as alterations: the goal is not merely to close the opening, but to help the garment sit comfortably and look right when worn. This is particularly valuable for workwear, occasionwear and pieces you rely on regularly.
Avoid the common quick-fix mistakes
Safety pins, adhesive tape and fabric glue have their place for a genuine last-minute emergency, but they are not long-term seam repairs. Pins can catch, glue can stiffen fabric and both can show through fine materials. If you must use a temporary fix before an event, place it on the inside and arrange a proper repair afterwards.
Another common mistake is sewing directly along the very edge of a torn seam. This puts the new thread through the weakest part of the fabric. When there is enough seam allowance, stitch slightly further in where the fabric is stronger, then blend the new line smoothly into the original seam.
Finally, do not force a repair on a garment that has become too small. If the seam opens because it is under constant strain, it is asking for more room. Depending on the construction, a tailor may be able to let out the seam, adjust another area or advise honestly when the fabric does not allow it.
A neat repair can give a garment years of extra wear, especially when it is done before a small opening becomes a larger tear. Treat the seam gently, wear the piece once the stitching has settled, and let a precise repair protect the fit and confidence you chose the garment for in the first place.