


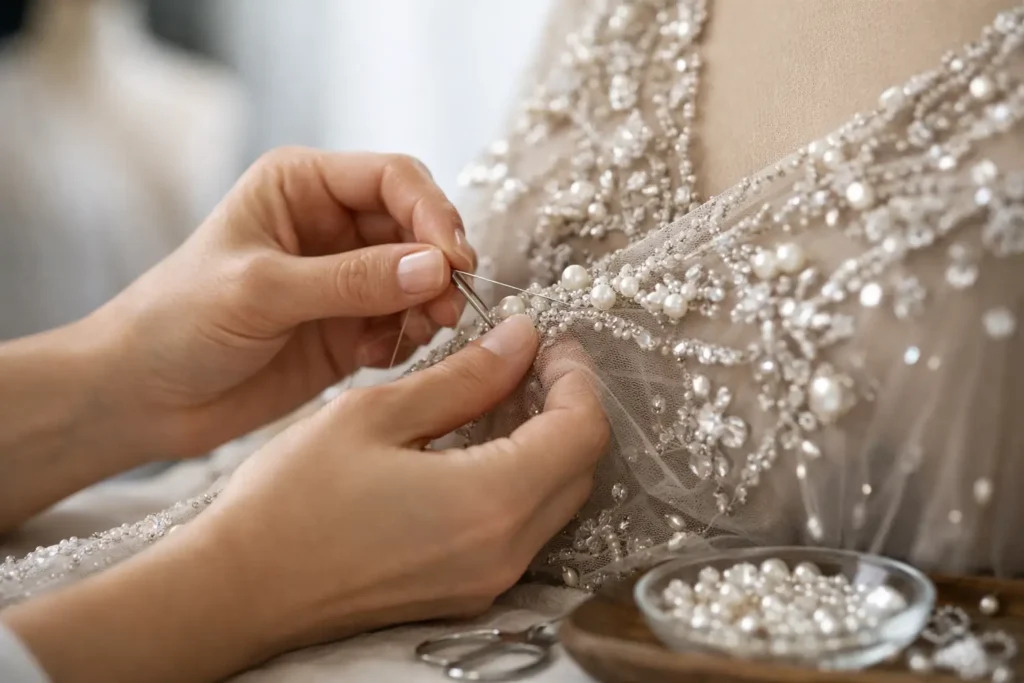
Hand Sewing of Beads on a Dress Explained
A missing bead can look minor until it catches the light on a wedding gown, evening dress or favourite formal outfit. Hand sewing of beads on a dress is precise repair work: each stitch must hold securely without pulling the fabric, changing the drape or making the repair obvious from the front.
For a beaded garment to look polished, the thread, needle, bead placement and tension all need to work together. This is particularly true for delicate fabrics such as chiffon, silk, tulle, lace and fine mesh, where a rushed repair may cause puckering, snagging or further bead loss.
Why hand-sewn beadwork needs a careful approach
Beads add weight, texture and movement to a dress. They may be stitched individually, arranged in clusters, sewn along a seam, or incorporated into embroidery with sequins, pearls and crystals. The original maker may have used a very fine thread and tiny, almost invisible stitches. Matching that standard is what makes repair work challenging.
Machine stitching is rarely suitable for replacing or securing loose beads. It can damage fragile fabric, catch neighbouring embellishments and produce a finish that is too stiff. Hand stitching gives the tailor control over every point of attachment, allowing the work to follow the original design rather than compete with it.
The right method depends on the garment. A heavily beaded bodice can usually support a little more handling than a lightweight chiffon skirt, while antique beading or glued stones may need a more conservative approach. Before any work starts, a close inspection helps identify loose threads, weakened fabric, missing beads and areas that could be at risk during wear.
Hand sewing of beads on a dress: the key steps
A quality repair begins with preparation, not the first stitch. The dress should be laid flat on a clean, well-lit surface so the bead pattern can be studied properly. If one bead is missing, the surrounding area often reveals its size, shape, colour and orientation. Where an exact replacement is unavailable, a close match may be possible, but it should be discussed before proceeding – especially on bridalwear or a highly visible neckline.
Choosing a fine needle and suitable thread
Beading needles are slim enough to pass through narrow bead holes without forcing them. The needle must also be appropriate for the fabric beneath. A needle that is too large can leave permanent holes in silk or fine netting; one that is too delicate may bend or break before the work is complete.
Thread choice matters just as much. Clear nylon thread can suit some modern beadwork, but it is not always the best option. It may reflect light differently, feel firmer than the original thread, or become visible against pale fabric. Fine polyester or silk thread in a carefully matched shade often produces a more natural finish. The thread needs to be strong enough to secure the bead while remaining discreet and flexible.
Securing the thread without marking the fabric
The stitching should start from a stable point, usually beneath the lining, inside a seam allowance or within existing embroidery. A visible knot on the front of the dress is not acceptable. On an unlined garment, the tailor may need to work within the existing bead pattern to conceal the start and finish of the thread.
Each bead is then positioned to mirror the surrounding work. Small seed beads are often sewn with a single pass of thread, while larger pearls or crystals may require several passes for security. For beads that sit on a point of movement, such as a shoulder, waist or sleeve, reinforcement can help prevent future loss without making the area rigid.
Matching the original pattern and tension
The most difficult part is often not sewing the replacement bead, but making it disappear into the design. A bead facing the wrong direction, sitting too high or spaced a few millimetres away from the pattern can be noticeable under event lighting.
Tension must be gentle and consistent. Pulling too firmly can gather the fabric and distort the design. Stitching too loosely leaves the bead free to swing, snag and eventually fall away. The finished area should lie flat, feel secure and move naturally with the rest of the dress.
When loose beads suggest a bigger issue
One missing bead does not always mean the whole garment is failing. Sometimes it has simply caught on jewellery, a handbag strap or a chair. However, repeated bead loss in one section can indicate that the base fabric or original thread has weakened.
Check high-friction areas before wearing the dress again: underarms, side seams, the back of a fitted bodice, sleeve edges and the hem are common trouble spots. A row of beads along a zip or hook-and-eye closure can also loosen if the garment is under strain. In these cases, securing nearby loose beads can be more sensible than repairing only the one that has fallen off.
Fit is part of the equation too. A dress that is too tight across the bust, hips or back places pressure on its seams and embellishment. Altering the fit before an event may protect the beadwork and make the garment more comfortable to wear. For delicate formalwear, it is best to assess alterations and bead repairs together rather than treating them as separate jobs.
Caring for a beaded dress after repair
A careful repair can last well, but beaded garments still need thoughtful handling. Avoid pulling a dress over the head if it has a beaded neckline or fitted sleeves. Fasten zips and hooks before storing it, and keep it away from rough jewellery, sequinned accessories and abrasive bag hardware.
For storage, use a padded hanger only if the garment is light enough to hang without stretching. Heavier dresses are often better stored flat in breathable tissue or carefully folded with padding between embellished sections. Avoid leaving a beaded dress compressed in a crowded wardrobe, where beads can catch and threads can be pulled.
Cleaning also deserves care. Some beads are glass, some are plastic, and some have coatings that react poorly to moisture, heat or certain cleaning processes. Always check the care label, but remember that a label does not always reflect the condition of an older or heavily embellished garment. If the fabric, lining or beadwork is fragile, professional advice before cleaning can prevent an avoidable repair.
When to bring the dress to a professional tailor
A simple replacement on sturdy fabric may be manageable for someone experienced in hand sewing. It is better to seek professional help when the dress has intricate embroidery, fine fabric, multiple loose beads, a missing cluster, damage near a seam, or sentimental or high-value importance. Bridal gowns and dresses needed for an upcoming event are also poor candidates for last-minute trial and error.
At AD Stitch, beaded dress repairs are assessed with the garment’s fabric, construction and overall fit in mind. This allows repair work to support the way the dress is worn, not merely replace what has fallen away. Bringing any spare beads supplied with the dress is helpful, though not essential in every case.
A well-executed bead repair should leave the focus where it belongs: on the person wearing the dress. If something feels loose, catches on your hand or has started to unravel, having it checked early is the simplest way to keep a special garment looking confident and complete.