


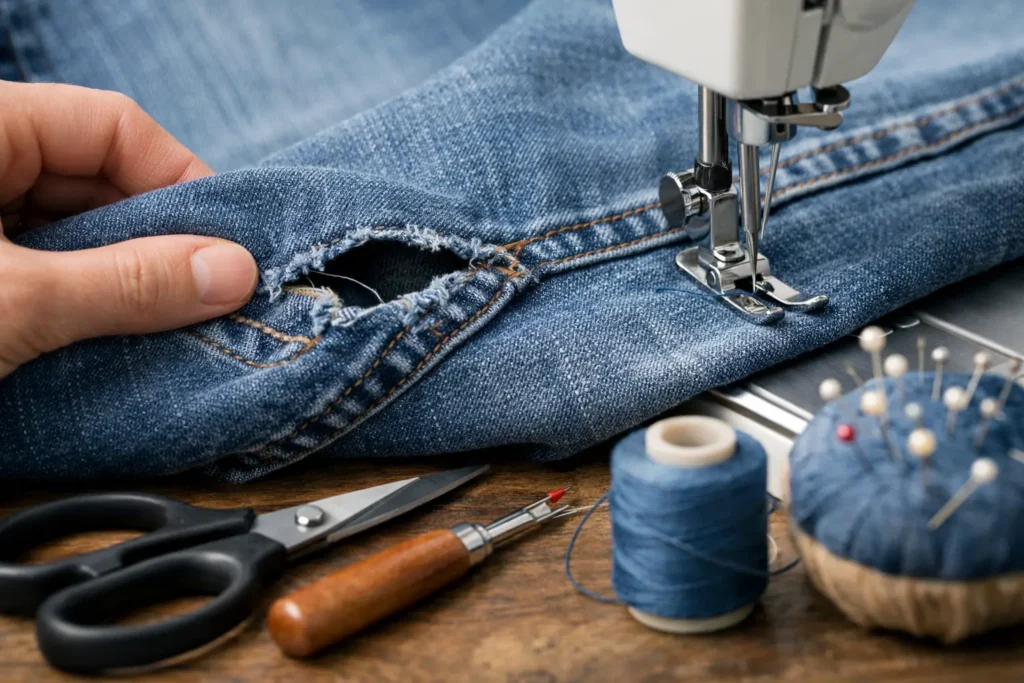
How to Repair Torn Clothing Seams Properly
A seam can split at the most inconvenient moment: as you sit down in a favourite pair of trousers, slip on a fitted dress, or reach for your jacket before work. The good news is that to repair torn clothing seams well, you usually do not need to replace the garment. You need to identify why the seam failed, stabilise the fabric, and use a repair that restores both strength and shape.
A quick stitch may close the opening, but a carefully repaired seam should sit flat, move comfortably and avoid pulling apart again after a few wears. That distinction matters most on well-fitted clothing, where even a small repair can affect the line of a sleeve, waist, side seam or hem.
Why clothing seams tear
Most seams fail because of pressure, wear or a weakness in the original stitching. Tight-fitting trousers can split at the inner thigh or seat, while shirts often open at the underarm where the fabric moves constantly. Lightweight dresses may tear at side seams, and jacket linings can separate after years of friction.
Sometimes the thread has simply worn through while the fabric remains sound. This is generally the simplest repair. Other times, the fabric around the seam is thinning, fraying or torn beyond the original stitch line. In that case, sewing the two edges straight back together can create puckering, reduce the garment’s fit or cause another tear beside the repair.
Before picking up a needle, inspect the area in good light. Check whether the seam allowance is still intact inside the garment, whether any fabric is missing, and whether the zip, lining or pocket is involved. These details determine whether the repair is suitable for home sewing or needs a tailor’s attention.
How to repair torn clothing seams at home
For a clean split along an existing seam, hand sewing can be an effective short-term or permanent fix. Choose a thread that closely matches the garment colour and fibre type. Polyester thread suits most everyday clothing, while fine cotton or silk garments benefit from a finer thread and lighter handling.
You will need a hand-sewing needle, matching thread, small sharp scissors and pins or sewing clips. An iron is also useful for pressing the repaired area afterwards. If the fabric is delicate, use clips rather than pins where possible, as pins can leave marks or create small holes.
Turn the garment inside out and gently align the original seam edges. Do not pull the fabric tightly together. The seam should return to its natural position, with the same amount of fabric sitting inside the seam allowance on both sides.
Start your stitching a centimetre or two before the torn section, where the original seam is still secure. This anchors the repair. Use a backstitch for strength: bring the needle forward a short distance, then take it back into the previous stitch before moving forward again. Keep the stitches small and even, especially on areas exposed to movement such as underarms, crotches and side seams.
Continue past the end of the tear by another centimetre or two. Secure the thread with a small knot inside the seam allowance, trim the end neatly, then press the seam lightly if the fabric permits. The repaired section should lie flat without gathers or tension lines.
Match the stitch to the garment
A firm backstitch works well for denim, workwear, cotton shirts and many trousers. Fine fabrics such as silk, chiffon, satin or a delicate lining need smaller stitches and less tension. Stretch garments are different again. If you repair a knit top, activewear or leggings with a rigid stitch, the seam may pop the next time the fabric stretches.
For stretch fabric, use a slight zigzag stitch on a sewing machine if you have one, or make small hand stitches with a little give between them. The goal is not to make the repair loose. It is to allow the garment to move as it was designed to move.
When a simple seam repair is not enough
A seam repair becomes more complicated when the fabric itself has torn, rather than the stitching coming undone. Worn wool trousers, fine linen, old denim and frequently washed uniforms can become fragile beside the seam. Pulling these edges together may make the garment narrower and create a visible ridge.
A professional repair may involve reinforcing the area from inside with a suitable backing fabric, reshaping the seam allowance, replacing damaged lining, or carefully taking in a slightly wider seam. This is especially relevant for structured garments such as blazers, tailored trousers and fitted dresses, where the repair needs to preserve the original silhouette.
It is also worth seeking expert help when a torn seam is close to a zip, pocket, vent or leather panel. These areas have several layers, and an incorrect repair can make the zip buckle, distort a pocket opening or leave permanent needle marks in leather.
Wedding outfits, formalwear and sentimental garments deserve the same caution. A small split in a bridesmaid dress or a vintage jacket may look straightforward, but the fabric can be delicate, embellished or difficult to match. Saving a few minutes with a rushed repair is rarely worth the risk of making the damage more visible.
Common mistakes that make repairs show
The most common mistake is sewing only across the opening without anchoring the stitches into the healthy seam on either side. It may look fine initially, but the repair has no support and can reopen quickly.
Another problem is pulling the thread too tightly. This causes puckering, particularly in lightweight fabrics, and can make a side seam look uneven when worn. The stitches should hold the fabric together, not gather it.
Using thread that is too thick is equally noticeable. Heavy thread can leave a raised line on a fine blouse or dress, while a weak thread on thick denim will not last. Colour matters, too. A close match will blend into the seam far better than a thread that is merely similar under shop lighting.
Finally, avoid trimming frayed fabric too aggressively. The seam allowance is what gives a seam room to be repaired. Once it is cut away, there may be too little fabric left for a strong, tidy finish.
Protect the repair and extend garment life
After a seam has been repaired, reduce the strain that caused the problem where possible. If trousers repeatedly split at the same point, the fit may be too tight through the seat or thigh. If a blouse opens at the underarm, there may not be enough ease in the sleeve or bodice. A repair can restore the garment, but a small fit adjustment may stop the issue returning.
Wash clothing according to the care label, turn delicate items inside out, and avoid overfilling the washing machine. Heat and harsh washing can weaken fibres and stitching over time. For tailored pieces, rotate them through your wardrobe rather than wearing the same garment hard every week.
For garments that matter to you, a repair is also an opportunity to assess fit. A jacket that pulls, a dress that catches at the side seam or trousers that strain when you sit may be asking for more than a few stitches. At AD Stitch, careful repairs can be paired with expert clothing alterations so the garment feels comfortable and looks right again.
A torn seam does not automatically mean a garment has reached the end of its life. When the fabric is sound and the stitching is correctly matched, a thoughtful repair can be almost invisible. And when the damage or fit is more involved, having it assessed early gives your favourite piece the best chance of returning to regular wear.