


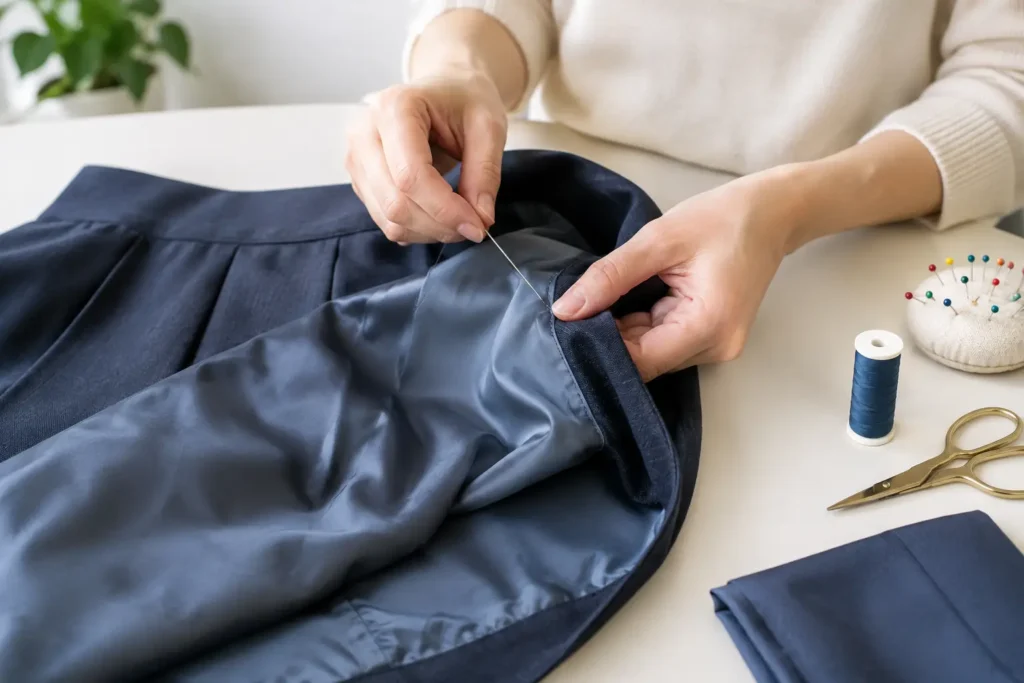
A Guide to Skirt Lining Repairs That Last
A lining problem often announces itself at the worst possible moment: when you sit down at work, step into a taxi before dinner, or put on a favourite skirt for an event. A split seam, torn hem or lining that hangs below the outer fabric can make an otherwise polished garment feel uncomfortable and unfinished. This guide to skirt lining repairs explains what has likely gone wrong, which repairs are worth making, and when skilled tailoring is the better choice.
What a skirt lining does for fit and comfort
A skirt lining is not merely an extra layer. It helps the outer fabric hang cleanly, reduces cling, protects delicate fabrics from friction and makes the garment more comfortable against the skin. In tailored pencil skirts, suit skirts and formal pieces, the lining also helps the skirt keep its intended shape as you walk and sit.
Because lining fabric is usually lighter than the skirt itself, it can wear out first. Polyester and acetate linings are common and practical, while viscose and silk linings may be chosen for their feel and drape. Each reacts differently to heat, tension and wear, so a repair that suits one garment may not suit another.
The goal is not simply to close a hole. A good repair restores enough movement for the lining to do its job without pulling at the waistband, zip or outer seams.
Identify the damage before repairing it
Before reaching for a needle, turn the skirt inside out and inspect the full lining. What looks like one small tear may be caused by a stressed seam, a damaged zip edge or a hem that has gradually come loose. Check the lining while the skirt is lying flat, then gently pull the fabric in the direction it moves when worn.
Split seams and loose stitching
A split side seam or centre-back seam is one of the most straightforward skirt lining repairs. The fabric may still be in good condition, but the original stitching has broken through wear or strain. If the seam allowance is intact, it can usually be restitched neatly, following the original seam line.
Avoid pulling the two raw edges tightly together. A lining needs a little ease, particularly through the hips and around a back vent. An overly tight repair can make the skirt ride up or cause the seam to split again the first time you sit down.
Tears, holes and worn fabric
A tear in the middle of the lining needs more assessment. A small clean snag may be stabilised with careful hand stitching, but thin, brittle or fraying fabric around the tear is a warning sign. Stitching into weakened lining can create a hard, puckered patch that tears again beside the repair.
For a small hidden area, a discreet patch may be suitable. For a larger tear or several damaged spots, replacing part of the lining or relining the skirt can give a cleaner and longer-lasting result. This is particularly worthwhile for a quality wool skirt, a formal garment or a favourite piece that still fits beautifully.
Dropped hems, vents and waistband detachment
When lining peeks out below the skirt hem, it is usually because the lining hem has dropped, stretched or become detached. This can often be corrected by re-hemming the lining to the appropriate length. The finished lining should sit above the outer hem so it stays hidden during normal movement.
Back vents need extra care. The lining must be secured in a way that allows the vent to open naturally, without showing, twisting or restricting your stride. A lining that has come away from the waistband may seem minor, yet it can pull the whole skirt out of position. Reattaching it accurately means working around darts, zip tape and seam allowances without adding bulk.
A practical guide to skirt lining repairs at home
A simple repair is reasonable at home when the lining is sound, the damage is limited and the area is easy to reach. A loose hem stitch or short split seam can often be handled with a fine needle, quality thread in a close colour match and good lighting.
Start by pressing the area gently with a cool iron setting that is suitable for the lining fibre. Test an unseen seam allowance first. Many lining fabrics are sensitive to heat, and a hot iron can leave shiny marks or melt synthetic fibres.
For a split seam, align the original seam edges rather than overlapping them. Pin sparingly, then use small, even stitches. At the beginning and end, secure the thread firmly but without knotting a bulky lump into the fabric. If the lining is hand sewn to the outer hem, use a light catch stitch that holds it in place while allowing movement.
There are limits to the home approach. Adhesive tape may seem quick, but it can stiffen the lining, lift after cleaning or leave residue. A visible machine stitch can also catch the outer skirt if the layers are not separated correctly. On a fine, fitted or expensive garment, a rushed repair can cost more to correct than a professional repair would have cost in the first place.
Matching fabric matters more than most people expect
A replacement lining needs to work with the skirt, not just match its colour. Weight, drape, opacity and static all matter. A heavy replacement can change how a lightweight skirt falls, while a lining that is too flimsy may catch on tights or wear through quickly.
Colour deserves careful attention as well. A pale lining under a dark skirt can show at the hem or through a lightweight outer fabric. For sheer or light-coloured skirts, the lining must provide coverage without looking dull or bulky. A tailor can assess the garment in person and select a fabric that complements its purpose, whether it is for office wear, a wedding outfit or everyday use.
The construction of the original skirt also affects the repair. A straight skirt with a simple zip is different from a pleated skirt, bias-cut satin piece or skirt with a shaped yoke. Darts, gathers, vents and invisible zips all need the lining to be cut and attached with the right amount of ease.
When professional lining repair is the wiser investment
Professional help is recommended when the lining is extensively worn, the skirt has a vent, the damage sits close to the zip or waistband, or the outer fabric is delicate. It is also the sensible option if the skirt is pulling across the hips, as the issue may be the fit of the garment rather than the lining alone.
Relining is often an excellent way to extend the life of a well-made skirt. Rather than repeatedly patching fragile fabric, the old lining can be removed, a new lining can be shaped to the skirt, and the garment can be reassembled with clean finishing. The result should feel comfortable, sit smoothly and move as intended.
At AD Stitch, repairs are approached as part of the garment’s overall fit. A skirt lining may need more room, a shorter hem or a cleaner finish around the zip to make the whole piece feel right again. That attention to detail is especially valuable for tailored skirts and occasionwear, where a small internal fault can affect how confidently you wear the garment.
Help your repaired lining last longer
Care after repair makes a real difference. Hang skirts properly between wears and avoid forcing a tight skirt into a seated position for long periods. Follow the care label, particularly where dry cleaning is recommended, as harsh washing and high heat can weaken lining fibres.
If you notice the lining catching, twisting or pulling, have it checked early. A loose stitch is easier to repair than a tear that has spread across a seam. For skirts you wear regularly, a quick inside-out inspection at the change of season can prevent a small issue from becoming a full relining job.
A well-repaired lining is almost invisible when you wear it, and that is exactly the point. Your skirt should sit comfortably, move freely and let you focus on the day ahead rather than what is happening beneath the fabric.